I love this easy comfort food.
First step: First Day Crock Pot Turkey
Second step: Make Gravy
Third step: Add pre-cooked turkey
Serve over mashed potatoes.
Showing posts with label Recipes. Show all posts
Sunday, May 29, 2011
Thursday, May 26, 2011
How to Make Gravy
There are probably oodles of ways to make gravy, but this is how I do it!
The formula to remember is 1/4 cup butter, 1/4 cup flour, 2 cups broth.
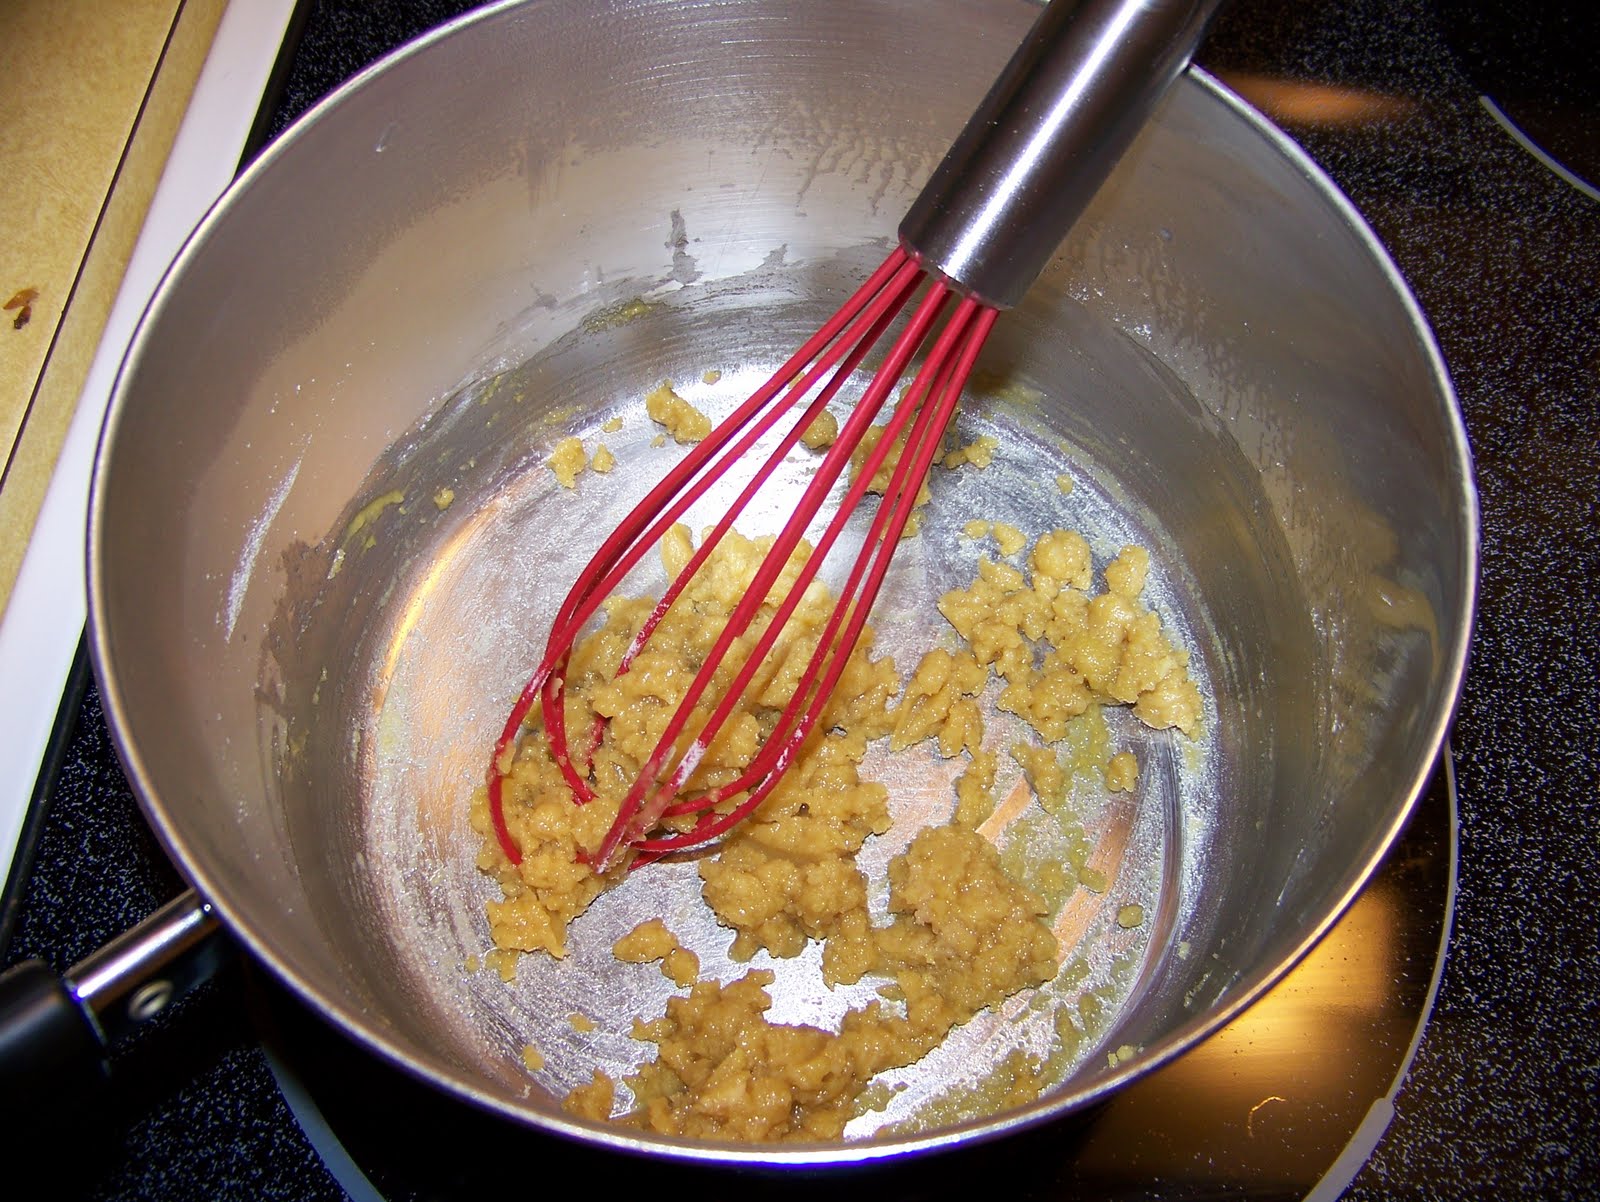
In a pot over medium heat, melt about 4 T butter. Add 1/4 cup flour, whisk to mix thoroughly. When it just begins to brown, add the broth. If I don't have broth, I use water and bouillon (like Superior Touch's Better Than Bouillon).
I like to add some garlic, parsley, and poultry seasoning or rosemary for turkey/chicken gravy. I like garlic, pepper, and savory for beef. Sometimes, I just like it very plain. Use what you like! Continue to whisk.
Heat to a boil, simmer until it thickens. It will thicken more when removed from heat.
My family ate this before I could get a picture of the final product. I have a brood of gravy lovers!
The formula to remember is 1/4 cup butter, 1/4 cup flour, 2 cups broth.
In a pot over medium heat, melt about 4 T butter. Add 1/4 cup flour, whisk to mix thoroughly. When it just begins to brown, add the broth. If I don't have broth, I use water and bouillon (like Superior Touch's Better Than Bouillon).
I like to add some garlic, parsley, and poultry seasoning or rosemary for turkey/chicken gravy. I like garlic, pepper, and savory for beef. Sometimes, I just like it very plain. Use what you like! Continue to whisk.
Heat to a boil, simmer until it thickens. It will thicken more when removed from heat.
My family ate this before I could get a picture of the final product. I have a brood of gravy lovers!
Turkey 3 Days: Turkey Noodle Soup
First step: Turkey 3 Days: First day crock pot Turkey
Start with the broth you already made. Skim the hardened fat off the top. The stock may be like Jell-O, which is actually a good thing, as gross as it may seem. (Did you know gelatin comes from bones? Now you do!)
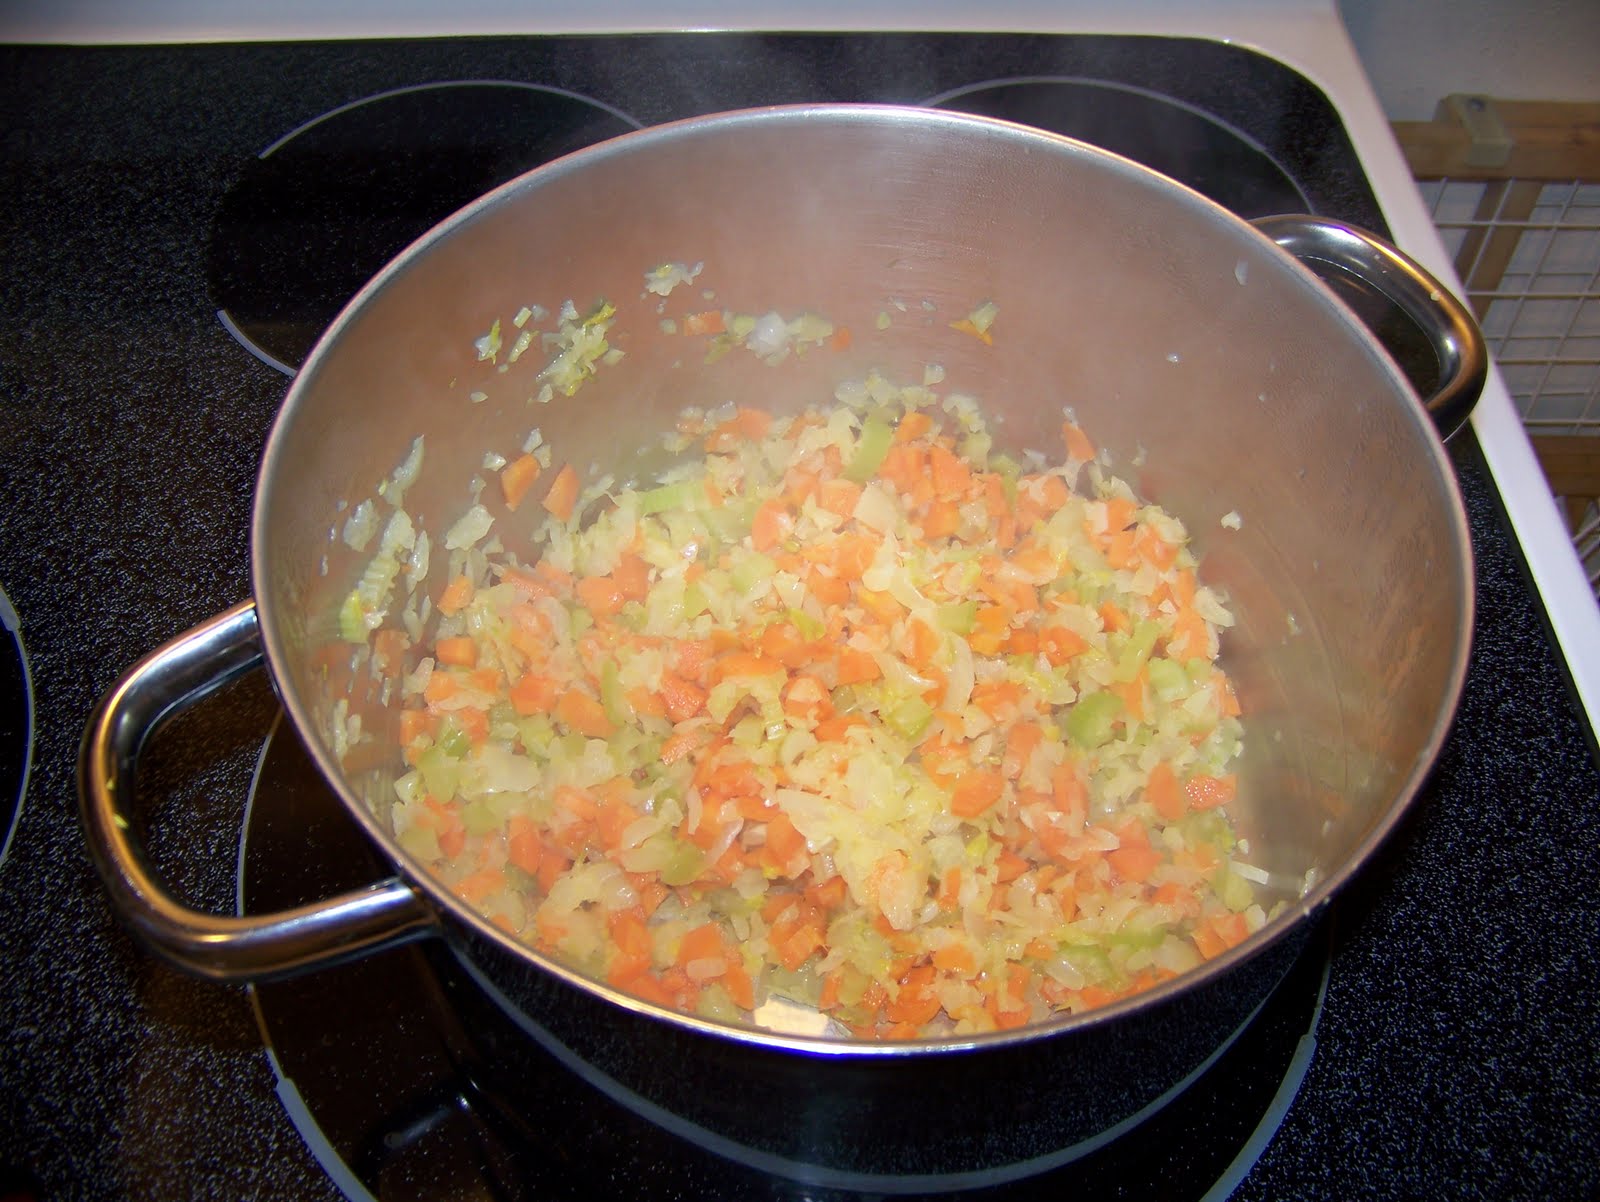
Chop your veggies. I like onions, carrots, celery and a little garlic. (I chopped them fairly fine this time as a ploy to make it harder for the kids to pick them out!) I drizzle a little olive oil in the pot I will use for the soup, and add veggies once the oil is hot. Stir fry until the veggies just start to soften. I go by smell. It's ready when it starts smelling good!
Then, dump your stock into the pot and add water. I have a 6-quart pot, so I fill it up to about 2 inches from the top. Once the broth is heated, I toss in some dried parsley, a few shakes of poultry seasoning or Mrs. Dash or both, a pinch of nutmeg, and salt and pepper. If the flavor isn't quite right, I'll also add a spoonful of chicken base (I like Superior Touch's Better Than Bouillon).
Once the veggies are nearly fully cooked, turn up the heat, boil, and add noodles to cook a couple minutes less than the box tells you to (they will continue cooking in the pot). My favorite noodles are nice fat "homemade" egg noodles or Kluski noodles; however, Second Son is allergic to eggs, so I have switched to regular pasta. Last, turn the stove off, and add the turkey meat you boiled previously. It is already cooked, so it just needs to get heated and will also help to cool down the soup.
Yum!
Next up: Turkey Gravy and Spuds
Start with the broth you already made. Skim the hardened fat off the top. The stock may be like Jell-O, which is actually a good thing, as gross as it may seem. (Did you know gelatin comes from bones? Now you do!)
Chop your veggies. I like onions, carrots, celery and a little garlic. (I chopped them fairly fine this time as a ploy to make it harder for the kids to pick them out!) I drizzle a little olive oil in the pot I will use for the soup, and add veggies once the oil is hot. Stir fry until the veggies just start to soften. I go by smell. It's ready when it starts smelling good!
Then, dump your stock into the pot and add water. I have a 6-quart pot, so I fill it up to about 2 inches from the top. Once the broth is heated, I toss in some dried parsley, a few shakes of poultry seasoning or Mrs. Dash or both, a pinch of nutmeg, and salt and pepper. If the flavor isn't quite right, I'll also add a spoonful of chicken base (I like Superior Touch's Better Than Bouillon).
Once the veggies are nearly fully cooked, turn up the heat, boil, and add noodles to cook a couple minutes less than the box tells you to (they will continue cooking in the pot). My favorite noodles are nice fat "homemade" egg noodles or Kluski noodles; however, Second Son is allergic to eggs, so I have switched to regular pasta. Last, turn the stove off, and add the turkey meat you boiled previously. It is already cooked, so it just needs to get heated and will also help to cool down the soup.
Yum!
Next up: Turkey Gravy and Spuds
Thursday, May 5, 2011
Turkey 3 Days: First day crock pot
This is my most recent lifesaver. Turkey Breast. Supper for 3 (not necessarily consecutive) days. Hallelujah!
Day One
Crock Pot Turkey Breast
Step one starts at the grocery store. This is important: make sure the turkey breast you buy will fit in your crock pot!
I usually let the turkey thaw in the fridge for a night or two. Sometimes three. Once, I totally forgot about thawing it and put it in the sink with cold water to thaw. That worked okay, but forethought works a lot better. There is usually a big flap of fat on the end, I cut that off. The brand I buy comes with a gravy packet, which I don't use. Read the list of ingredients and you be the judge.
Pop that turkey in your slow cooker, slather on some garlic and rosemary (or poultry seasoning), salt and pepper, and a sprinkling of brown sugar. Cook on low for about 5-6 hours. Your crock pot may be different than mine, so keep an eye on it.
I usually make a pilaf or nuke some "baked" potatoes, add a veggie, and there's supper! Now, a little more work...
My family eats a little less than one half. Once I cut off the amount we will eat that night, I return the turkey to the crock, power off, until after we are done eating. Then, after supper, I remove the other half of the meat, cut into pieces, and contain for later. Then the bones and hard-to-remove-meat go back in the pot. Add water to cover, add a couple allspice balls, maybe a bay leaf, and let it go a couple hours on high.
Once the kids are out of my hair, preferably sleeping, I can remove the meat (it will fall off the bones) and strain the broth. Reserve the meat for your next meal. This whole process can get messy, but if you do it right, you will have such nice soft hands. Ha ha, you'll see what I mean when you try it! Put the broth in the fridge overnight. The fat will float to the top and harden, so it will be easy to remove later.
So, now all the hard stuff is done. Free sailing for two more days! Well, kinda.
Up next: Turkey Noodle Soup
or Turkey Gravy and spuds
Day One
Crock Pot Turkey Breast
Step one starts at the grocery store. This is important: make sure the turkey breast you buy will fit in your crock pot!
I usually let the turkey thaw in the fridge for a night or two. Sometimes three. Once, I totally forgot about thawing it and put it in the sink with cold water to thaw. That worked okay, but forethought works a lot better. There is usually a big flap of fat on the end, I cut that off. The brand I buy comes with a gravy packet, which I don't use. Read the list of ingredients and you be the judge.
Pop that turkey in your slow cooker, slather on some garlic and rosemary (or poultry seasoning), salt and pepper, and a sprinkling of brown sugar. Cook on low for about 5-6 hours. Your crock pot may be different than mine, so keep an eye on it.
I usually make a pilaf or nuke some "baked" potatoes, add a veggie, and there's supper! Now, a little more work...
My family eats a little less than one half. Once I cut off the amount we will eat that night, I return the turkey to the crock, power off, until after we are done eating. Then, after supper, I remove the other half of the meat, cut into pieces, and contain for later. Then the bones and hard-to-remove-meat go back in the pot. Add water to cover, add a couple allspice balls, maybe a bay leaf, and let it go a couple hours on high.
Once the kids are out of my hair, preferably sleeping, I can remove the meat (it will fall off the bones) and strain the broth. Reserve the meat for your next meal. This whole process can get messy, but if you do it right, you will have such nice soft hands. Ha ha, you'll see what I mean when you try it! Put the broth in the fridge overnight. The fat will float to the top and harden, so it will be easy to remove later.
So, now all the hard stuff is done. Free sailing for two more days! Well, kinda.
Up next: Turkey Noodle Soup
or Turkey Gravy and spuds
Sunday, January 30, 2011
My Cheddar Bicuits
This is my very own recipe that I came up with after watching a Red Lobster commercial. I don't like seafood, but those biscuits sure looked good! I wanted to come up with something a little healthier (and tastier, in my opinion!). I love making these on those days that I scrape together some random soup for supper. It just makes it all so much better!
2 cups flour*
2 tsp baking powder
1/2 tsp salt
1 tsp onion powder
2 tsp. sugar (optional)
5 T butter
1 cup sour milk*
1 cup shredded cheddar
*About the flour: I usually use about 1 cup whole wheat flour, 1/2 cup unbleached flour, 1/4 ground flax seed, and 1/4 oat bran...all combined to make 2 cups.
*There are different ways to make sour milk. Here's my favorite: add a splash of vinegar (probably 1-2 tsp) to your measuring cup and then top it off with milk to the called-for measurement. Let it sit for awhile. In this recipe, it's added last, so make the sour milk first and let it sit while you mix the rest. I use soy milk because one of my boys is allergic to milk.
(First make sour milk, set aside. Preheat oven to 450)
Combine 2 cups flour, 2 tsp baking soda, 1/2 tsp salt, 1 tsp onion powder, and 2 tsp. sugar (optional).
With a pastry blender, cut in 5 T butter until you have some nice buttery lumps.
Add 1 cup cheddar and toss with a fork to combine.
Add the cup of sour milk. Use fork to lightly stir, just until blended. The secret it not to over-mix. Dough will be very lumpy.
I use an ice-cream scoop to plop out the biscuits onto parchment paper. You don't have to use the paper, but it just makes life easier! I've also used non-stick aluminum foil. My cookie sheet is supposedly non-stick, but that cheese WILL stick.
Bake at 450 degrees for about 10 minutes, until golden brown. Let them cool on the pan for a little bit to firm up before trying to remove.
I hope you like them as much as I do!
Sunday, January 23, 2011
Coconut Curry Chicken
This is a recipe I tore out of a Rachel Ray magazine years ago...it's simple and distinctive.
(the original recipe can be found here)
- 2 teaspoons curry powder
- One 13.5-ounce can coconut milk
- 4 skinless, boneless chicken breasts (about 2 pounds), cut into strips
- 2 teaspoons five-spice powder
- serve with rice
Heat about 1 T of olive oil in a sauce pan. Add 2 tsp curry powder and cook until it smells delicious (a minute or so)
Add the can of coconut milk and continue to cook (stirring occasionally) so that it reduces by about half.
My kids don't like the spice powder (which I found in the oriental section of our grocery store)....so I divide the chicken in half and cook half with about 1 tsp spice and the other half with just salt and pepper. Also, I've found that I really like carrots with this recipe. The sweetness of the carrots is a nice contrast to the spice and curry. AND you have a veggie built in! In this case, I'm using julienne-cut, but halved baby carrots are great too.
By now, the coconut milk will have been reduced to a nice sauce. You can mix it all together, or serve separately over rice. (I like Basmati)
I usually don't care for leftovers, but I love this for lunch the next day. I toss it all together and heat up on the stove, fried rice style.
Subscribe to:
Posts (Atom)