1. Measure. Here's the math:
sheet width - bed width = x
divide x by 2 = amount to cut off each side
In my case, the sheet was about 62", the bed about 35". (It's better to make the bed width on the wide side for seam allowance.) So, I needed to remove 13.5" off each side.
2. Next, cut a square that size off each bottom corner. Yeah, I'm not messing around with ironing.
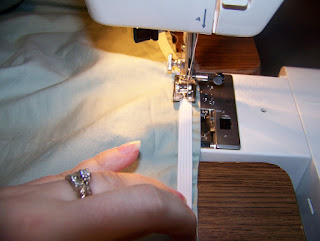
3. Sew. Fold the cut edges together to form the bottom corners of the sheet. I used a very lazy, non-precise, no-iron French seam.
Stretch the elastic as you sew and it will gather the fabric when it's finished. I cut the excess elastic off when I was finished. It's hard to get a picture of the finished product, but basically it's just a sheet with a fitted bottom and regular top. Perfect for staying tight on a bunk bed.
I like this so much, I was thinking about doing this for my own bed. However, it would probably be too tight at the foot for adults. A kid's bed where the bottom 2 or 3 feet of the bed is basically unused is a different story.
I decided to alter the comforter as well. I was a little intimidated since there is more to wrestle with a comforter compared to a sheet, but I got this one at a resale shop and it's cheap enough to experiment on.
Luckily, it turned out great! I did basically the same thing as the sheet, but pulled a few inches of the batting/stuffing away from the seams. I had to use a little extra care to make sure I had all the layers aligned when I sewed the corners.
One area is a little less sloppy in my house! Totally worth it. And yes, it was SOOOO much easier to get the sheets on this way. I am pleased.


Awesome Jess! Nice job.
ReplyDeleteNice!
ReplyDeletehow are you measuring the square for the corners?
ReplyDeleteThat's in the first step. So, in this case, the squares are 13.5"
Delete